[ad_1]
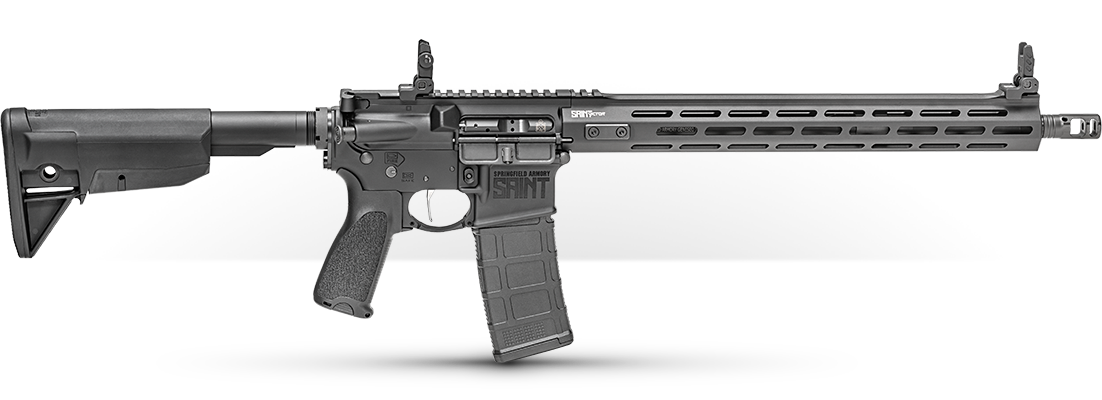
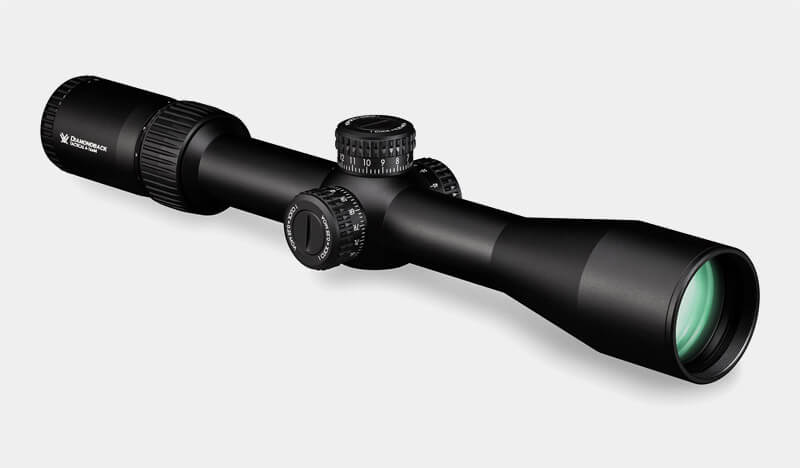
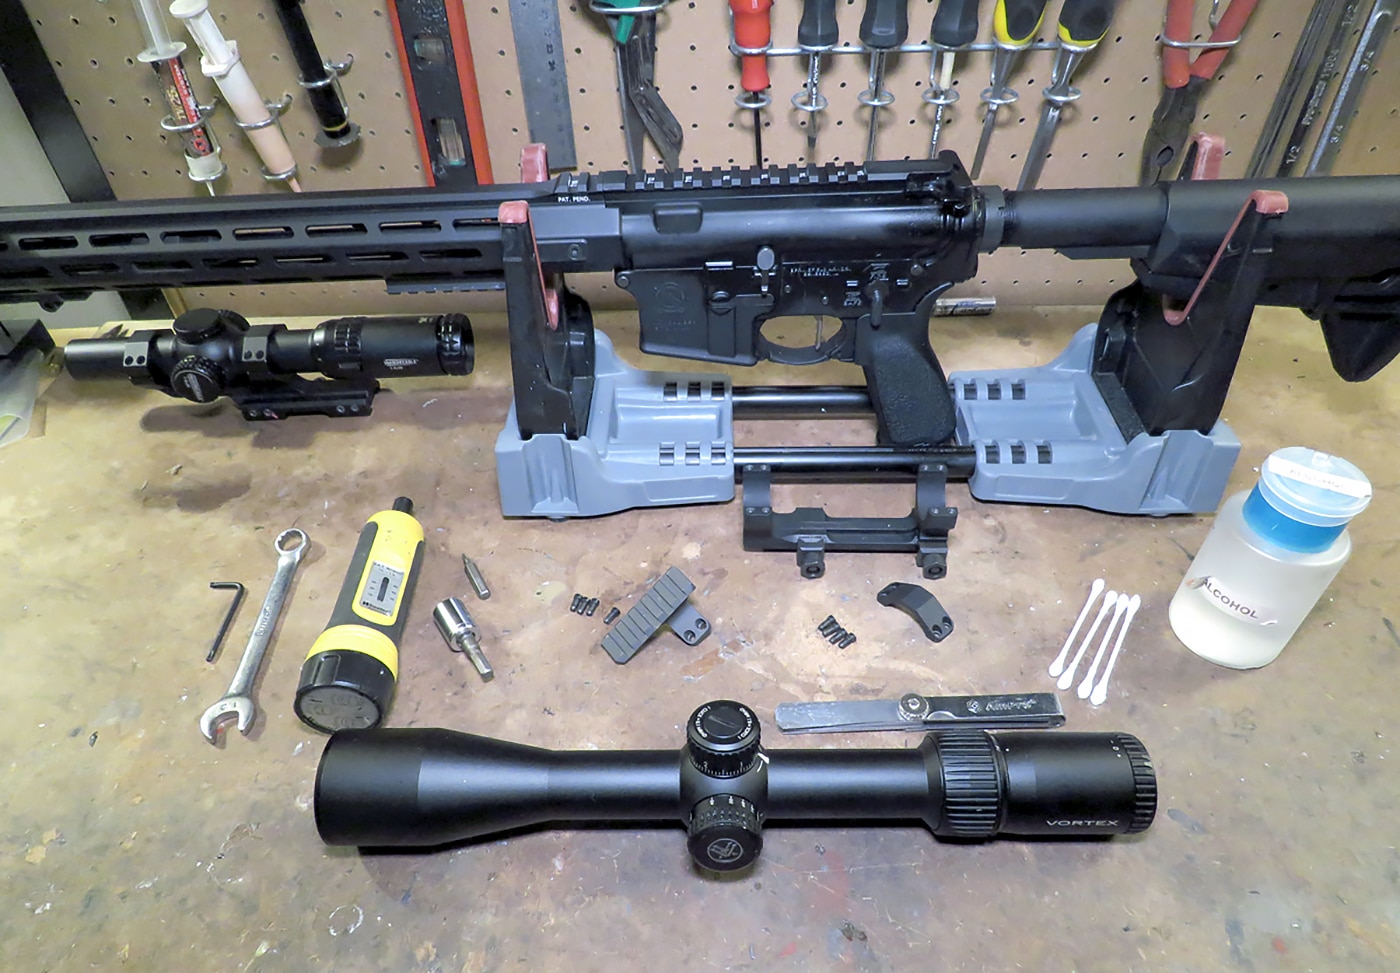
Mounting an optic properly and getting it set up for the range doesn’t have to be a complicated process. To show you how simple mounting a rifle scope can be, I’m going to fit a Vortex 4-16X Diamondback Tactical scope to my Springfield Armory SAINT Victor rifle. To mount a rifle scope, you only need to use some basic hand tools.
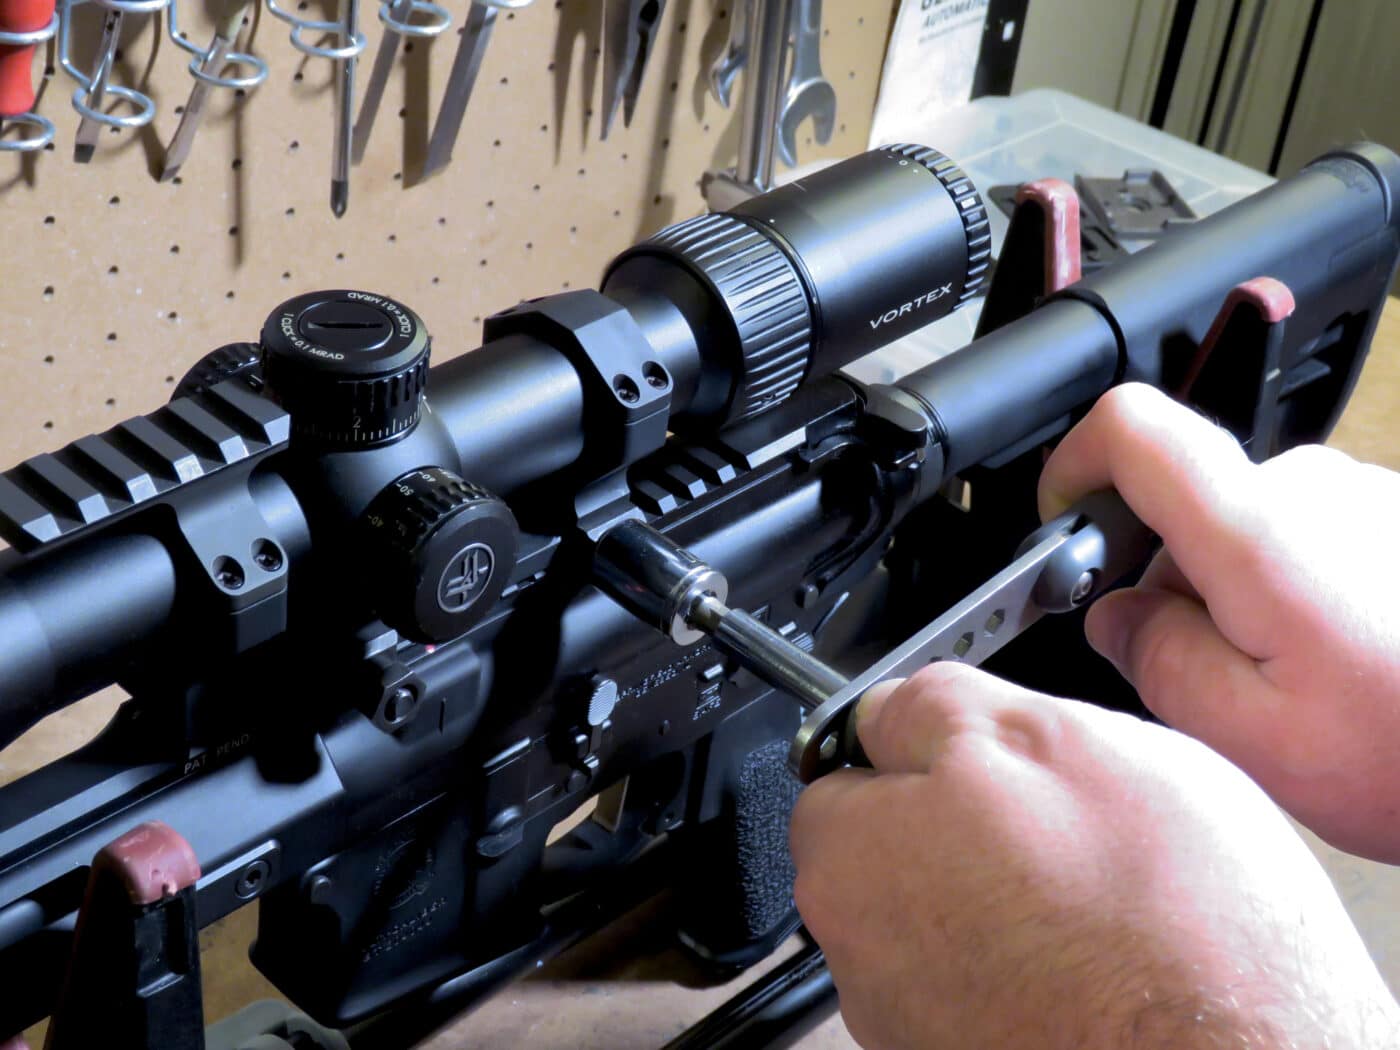
Before I get started, I always check the manufacturer’s recommended torque settings to mitigate the risk of damaging the optic and scope mount during assembly or while shooting. I also degrease the threads and screws, since clean threads prevent binding and damage while making sure proper torque is transmitted to the screw.
You should never use a torque wrench to loosen a fastener, and always reset the wrench to zero after using it. This prevents damage to the mechanism so that it will stay accurate in the future.
Mount the Scope Up
When I’m placing the scope mount on the receiver, I’m putting it in a location that gives me a fair amount of play to move the scope forwards and backwards. This location is driven by the mounting hardware, your length of pull and how much eye relief the scope has. Push the mount forward to engage the rail slot so that the mount won’t move under recoil. The cross bolts only need to be hand tight at this point, since the mount may get moved around some.
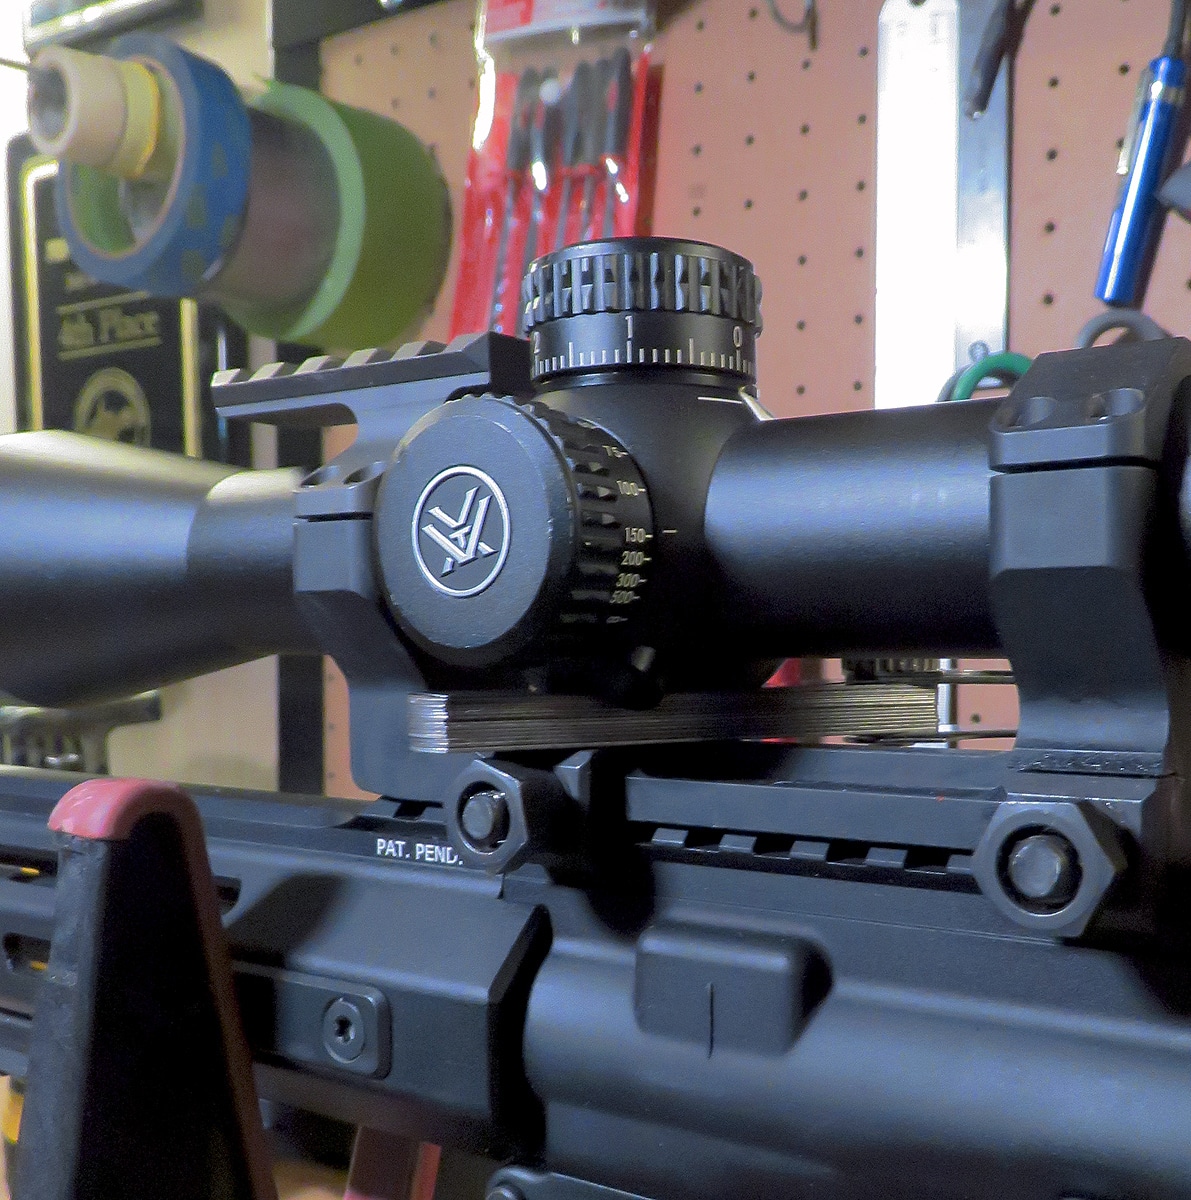
Wipe down the inside of the rings and the scope tube with degreaser before setting it in the mount and place the ring caps on both ends. Use the feeler gauges to take up the space between the mount and bottom of the turret globe to level up the reticle. These surfaces are usually machined flat, so this technique can be used across multiple optics and mount styles.
Tighten the ring cap screws down and check the eye relief to see if it’s where you need it to be. I don’t get OCD about making sure the ring gap is perfectly even on both sides, I just make sure they’re close. As I’m checking the eye relief, I’m making sure the edges are crisp all the way around and there’s no shadowing around the reticle.
Final Torque when Mounting a Rifle Scope
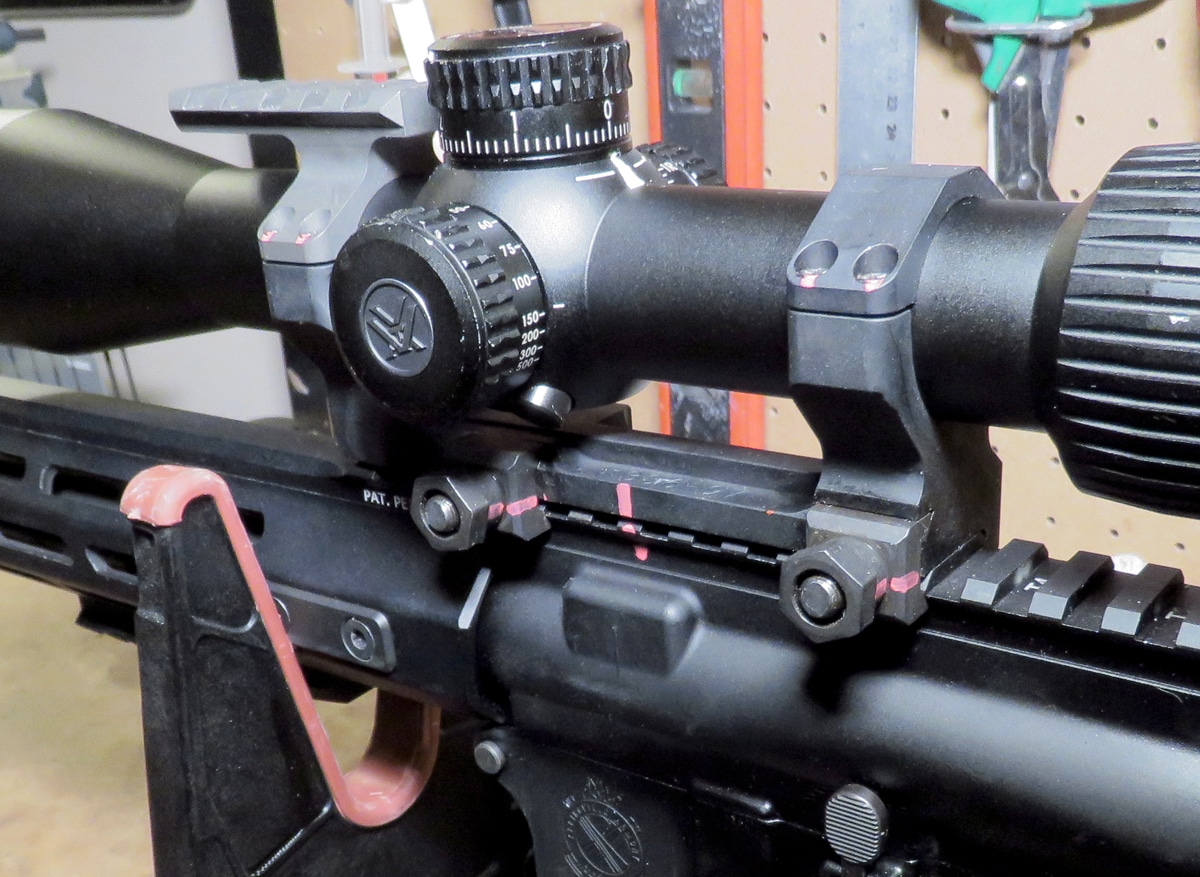
When the scope is set where I want it, I’ll final torque the fasteners starting with the cross bolt screws, alternating from front to back and then moving on to the ring cap screws. Ring cap screws generally get 15 in./lbs., tightened in a criss-cross pattern.
I don’t use or recommend thread locker on the ring cap screws. In my experience, it’s unnecessary. Sometimes I put witness marks on the fasteners with a paint pen so I can tell if a screw has loosened up.
Scope Maintenance
As part of my process, I’ll also clean the lenses off to remove any fingerprints or smudges that could’ve gotten on the lenses. There are optics cleaning kits available, but I’ve found a simple lens pen to be a great product to use for periodic cleaning.
Use the brush end to clean debris off the lens and then use the felt tip portion to remove any fingerprints or other marks that remain. Start in the center of the lens and move outward in a large circular motion out to the edge. This will keep your lenses clean for superb performance.
Editor’s note: Be sure to also check out Gunspot’s tips on leveling a scope.
Closing Thoughts on How to Mount a Scope
This has been my process for mounting a rifle scope, and it doesn’t require any complicated jigs, kits or processes. These techniques can be used across multiple platforms, only needing to be adapted for a specific fastener or torque requirement. If you find this kind of “how to” article helpful, be sure to leave a comment in the forum along with any ideas for future articles you would find helpful.
Editor’s Note: Be sure to check out The Armory Life Forum, where you can comment about our daily articles, as well as just talk guns and gear. Click the “Go To Forum Thread” link below to jump in!
Join the Discussion
Featured in this video
[ad_2]
Source link

